Installation of Disaster Recovery Utility
Creation of a recovery drive is performed by Disaster Recovery Installation Kit. Installation Kit is a Windows application that lets you create bootable flash or USB drives with the module.
At present, there is no other way to create a recovery drive, than from Windows.
To create a recovery drive, follow these steps:
- Insert a USB device into your PC.
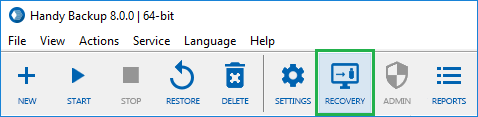
- Click Recovery to begin installation.
- On the Welcome screen, click Next.
- On the next screen, you are prompted to download an installation package.
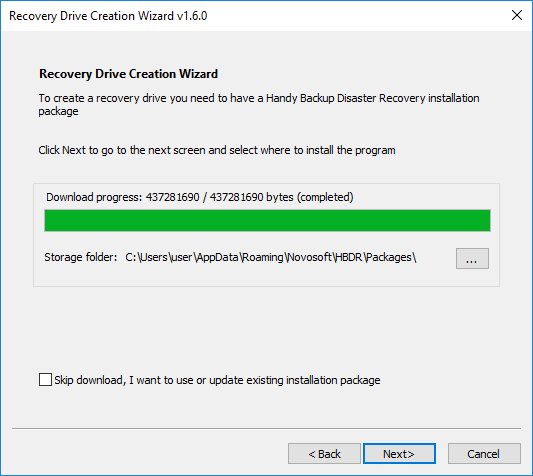
- Specify the folder where installation package will be downloaded, and then click Download.
Note: If you already have the installation packages, simply select the folder where they are located, and the download will be skipped.
- When finish downloading, click Next.
- On the next screen, you need to select the drive where to install the module.
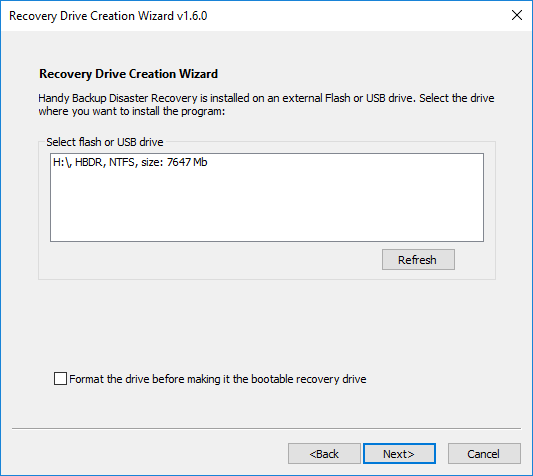
- Connect a Flash or USB drive that you want to use as a disaster recovery drive. It automatically appears in the Select Flash or USB drive field.
- Select the Flash or USB drive where you want to install the module. Click Next and then click Install.
After you click Install, the program installs Disaster Recovery on the selected drive.
Note: You will be prompted to format the flash drive where you will install the Disaster Recivery utility. If you will select the installation without formatting the drive, please make sure that the drive has at least 400 Mbs of free space to install Disaster Recovery!
Installation normally takes five to ten minutes, depending on the drive size and resources of your computer.
- After installation, click Finish.
To boot from this Flash or USB drive and run the software, you need to have USB listed in BIOS boot order at the first place.
Setting up BIOS Boot Order
Moving USB to the first place in the list of the BIOS boot order enables you to run the operating system that is installed on the USB device, rather than your primary HDD.
- Upon startup, the computer will check if there are any operating systems available on USB devices, and if there are any, it will load them. Otherwise, it will start as usual.
To change BIOS boot order, follow these steps:
- Restart your computer.
- Wait for the message that welcomes you to enter setup. Usually it looks like this:
- Press [key] to enter setup.
- Setup: [key]
- Enter BIOS by pressing [key]
- Press [key] to enter BIOS setup
- Press [key] to access BIOS
- Press [key] to access system configuration
- Press the respective key (usually, Del or F2) as soon as you see the message.
Since BIOS is a part of motherboard hardware, it is specific to each system, and boot order options may be located in different places.
- Search for a menu item called Boot Options, Boot, Boot Order, etc. It is commonly located in a general menu, but may also appear within Advanced Options, Advanced BIOS Features, Other Options, etc.
The BIOS boot order lists all hardware connected to the computer’s motherboard, from HDDs to USB and CD/DVD drives.
- Select USB, and then follow BIOS instructions to move it to the first place in the boot order.
- To save changes, follow BIOS instructions to select the Exit or Save and Exit commands.
After you restart the computer, it will automatically try to load the system from a USB drive.