Restoring Image Backup Made in Windows
Current version of Disaster Recovery (as of the first release in August, 2010) provides complete compatibility with image-based backups made by Windows version of Handy Backup, but it cannot properly read the "index files" that carry information about Windows-made tasks.
To restore a disk image made in Windows, you need to create a respective restoration task and configure it manually. To do it, please follow these steps:
- On the desktop, open Tasks.
- Click New Task on the window’s toolbar. The New Task dialog will open.
- In the Name field, specify a name for a task.
- Select Restore as a type of the task.
- When finished, click OK. The respective task window opens.
- On the desktop, open My Computer.
- Browse for a file containing a disk image that you want to restore.
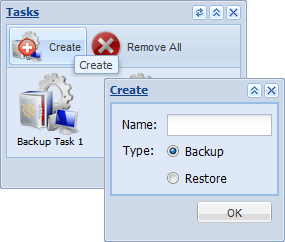
Image backups made by Windows version of Handy Backup are organized as followed:
| /Task Name/ | |||
| /backup.hbi /Devices/ |
|||
| /Devices/full drive image /Devices/Partitions/ |
|||
| /P (partition table ...) /P1 (disk ...) /P2 (disk ...) ... |
- Drag-and-drop the desired image file into the What to Restore folder of the task.
- Go back to My Computer and double-click onto the name of a physical device where you want to restore the image.
- If you want to restore an entire hard drive, drag-and-drop full drive image into the Where to Restore folder of the task.
- If you want to restore a specific drive partition only, go to Partitions, and then drag-and-drop a desired partition into the Where to Restore folder of the task.
- To run the task, click Restore on the task’s toolbar.
Related Feature Pages
Contents: