First Backup Task: Advanced Mode
To create a backup task in advanced wizard mode, please use next steps:
- By clicking "Create" on the management panel, menu item or Ctrl+N keys, create a new task.
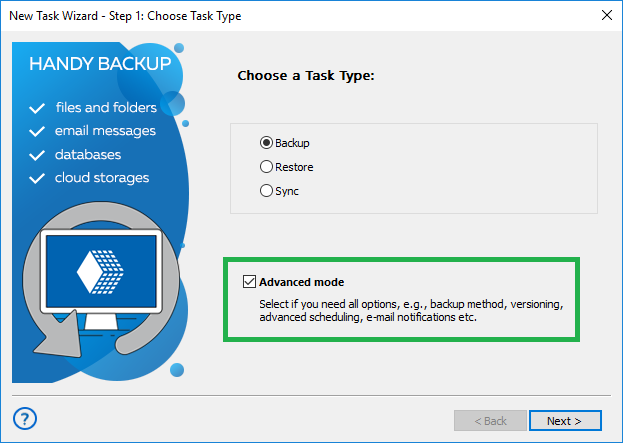
- Select "Backup" on Step 1. Mark the "Use Advanced Wizard" option below to switch a wizard to an advanced mode. Click "Next".
- On Step 2 click onto an appropriate data source (you can expand any data group to get an access to data plug-ins that you need).
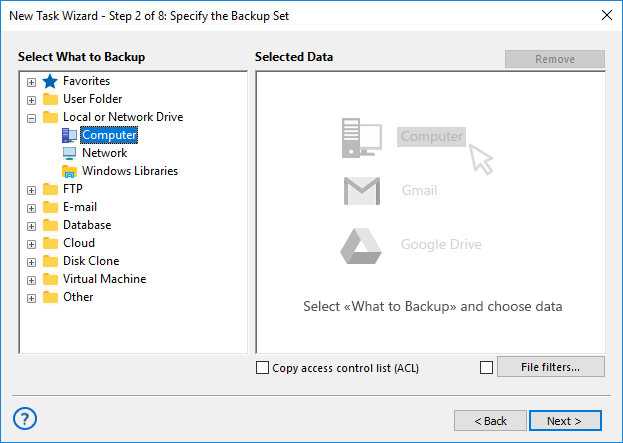
Note: Some plug-ins may require additional setup before first using. For detailed description of each particular plug-in, please read the Plug-ins chapter of this Manual.
- In the "Select data…" dialog, mark checkboxes against names of data objects that you plan to back up. Click OK and then "Next" to proceed.
- On Step 3, select storage that you plan to use for backups and click on it. You can find the list of available storage plug-ins on the left panel.
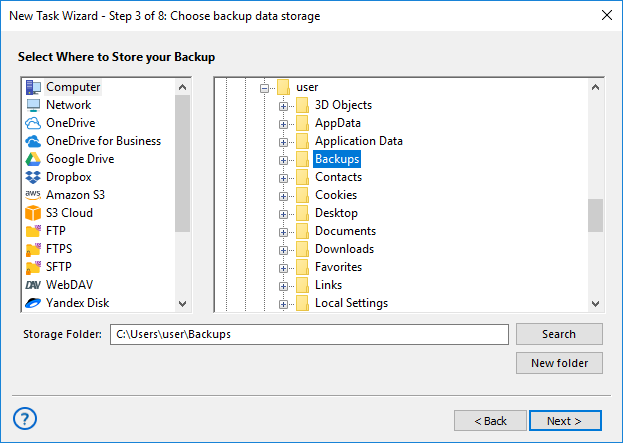
- In a storage selection dialog, choose a folder where you will store backups. Click "Next".
- On Step 4 you can select between full, incremental and differential backup, or used mixed (full and incremental or full and differential) backup mode. You can read more about different backup techniques in this Manual.
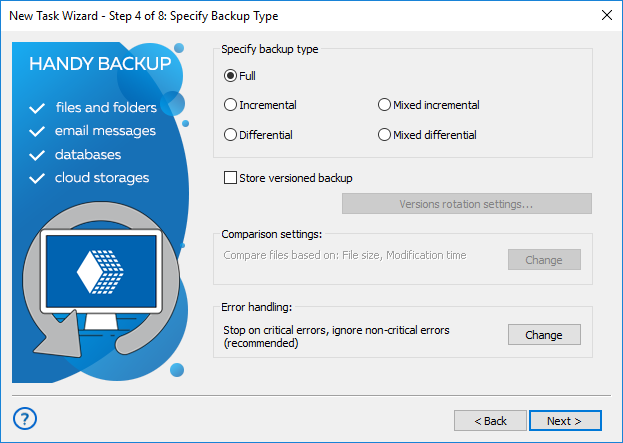
- You can also add other parameters for storing some versions of the same backup dataset, such as creating time stamps for each version folder, selecting formats and keeping older versions of backups.
- After finishing tuning backup methods, click "Next". Go to Step 5, where you can enable compression and/or encryption for your backup files.
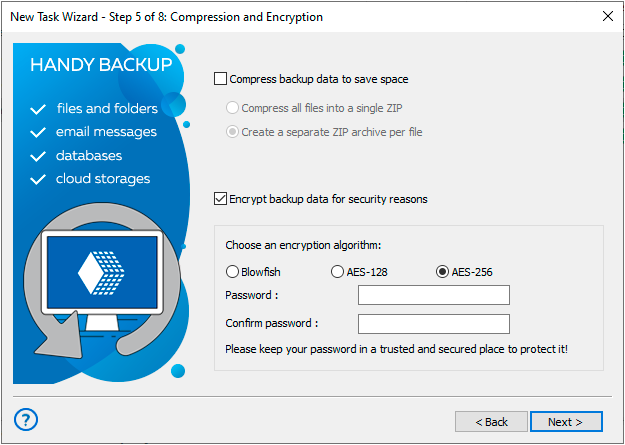
- To enable compression or encryption options, mark an appropriate option checkbox. For encryption, you must also provide encryption algoritm (AES-128, AES-256 or Blowfish encryption) and password to decrypt your backups later.
- For compression, this is an option for creating a single ZIP file for all backup dataset (otherwise, your dataset will be compressed by separate ZIPs for each backup data object). After finishing, click "Next".
- On Step 6 you can schedule or trigger your task. To run a task in a defined time and with an exact repeating interval, mark "Enable scheduler". Set up a starting time and a repeating period.
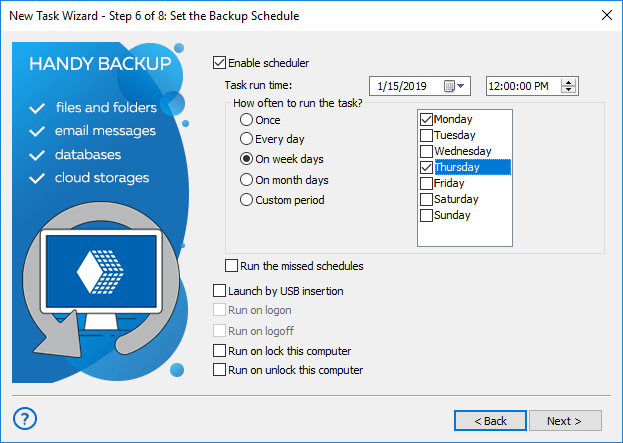
- For triggering a task by some system event (such as insertion of a task-related USB device into a PC), just mark a trigger option that you want.
- Click "Next". On the following step, you can enable some other external software or batch files to run before and/or after your task.
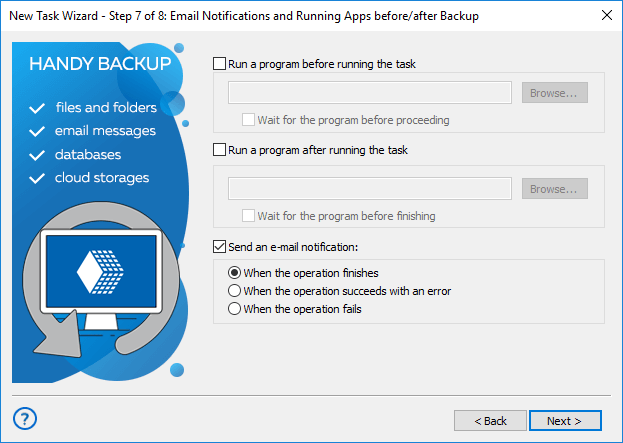
- To run external software before or after a task, mark an appropriate option on the screen and then provide a path to execute particular software. After finishing, click "Next" and go to the final step.
- There you can give a name for your task.
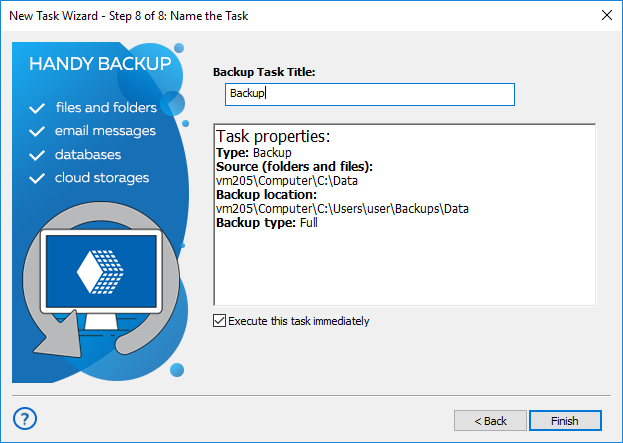
- If you mark the "Execute this task immediately" option, the program will run this task just when you click "Finish".
- In a central area of the final step window, you can view a short summary for all task parameters. Return to any of previous steps to make changes when you feel it necessary.
- To complete your part of job, click "Finish".
Well done! You just complete your first backup task in an advanced wizard mode! Now you can execute this task from the main window when you want it, or change any task properties if you feel it necessary.
Contents: