First Restore Task: Advanced Mode
This article describes how to restore data from backup by using all functions and capabilities of Handy Backup. To restore backup information, please follow these next steps:
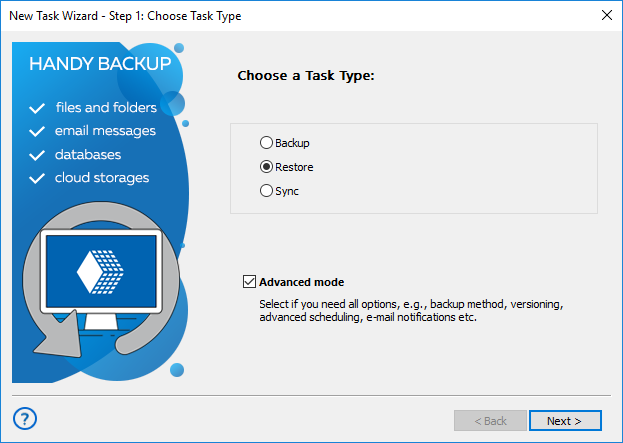
- Run a New Task Wizard with a "New" button or by pressing Ctrl+N.
- Select Restore, mark the "Advanced Mode" option, and then click "Next".
- (For network solution only) In the upper left corner, select a remote machine to use it as backup storage.
- On the left panel, click on an appropriate data storage plug-in, e.g., Computer for data stored on the local machine.
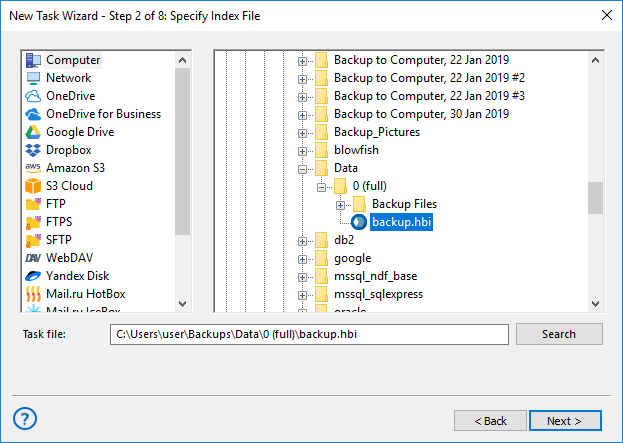
- Select a folder with your backup on the right panel.
- Click on the index file (backup.hbi, always presents in backups), and then click "Next".
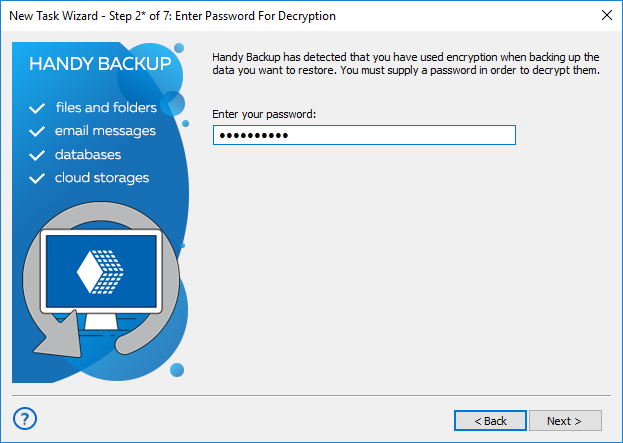
- On this step, you must also enter a password for an encrypted backup if you choose the encryption option during creating a backup task.
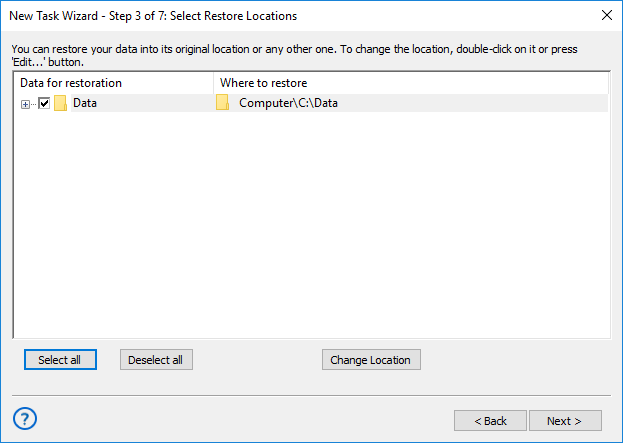
- Select a place to restore data. You can use "Select all" and "Deselect all" buttons to speed up complete selection or erasing.
- You can also change location for file recovery by clicking "Change Location" button. In the appearing dialog, choose a new place to restore your data, and then click OK.
- Click "Next". Select either full or incremental recovery on Step 4.
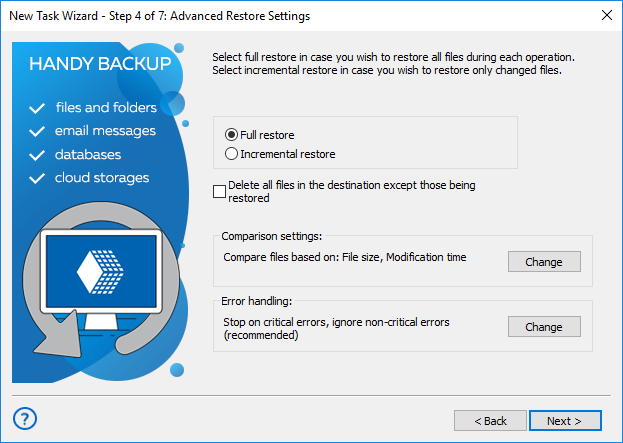
Note: Full recovery will restore all data from backup. Incremental recovery will restore only those files that will changed in backup since the previous restoration.
- On this step, you can also set up error handling method, choose a method for file comparison (for incremental recovery), and check and option to delete all files in the destination folder except those being restored. Click "Change" to select properties, or else click "Next".
- The next step allows you scheduling your recovery task. Mark the "Enable scheduler" option, and then select all parameters to run your task automatically: starting time and the repeating interval. It can be very useful for such tasks automatic cloning, mirroring and distributing data.
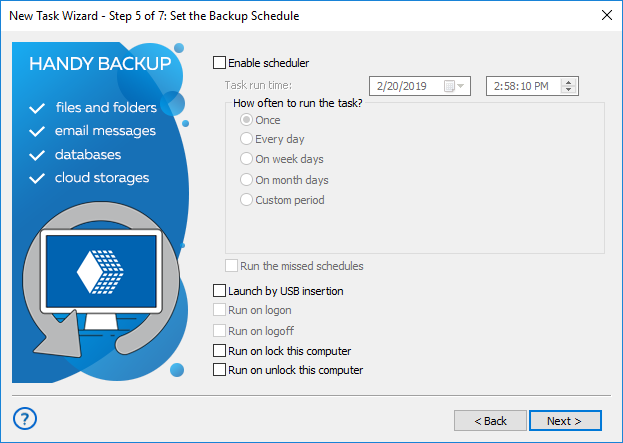
- You can also trigger your recovery task by some system event in this step. To run a task each time when some event will occur, just mark a checkbox describing this event (e.g., user logon).
- Click "Next" and go to next step. On this step, you can set up automatic execution of any external software before and/or after running your task. To make such setup, enable an appropriate option with a checkbox, and then enter a command string to run external software.
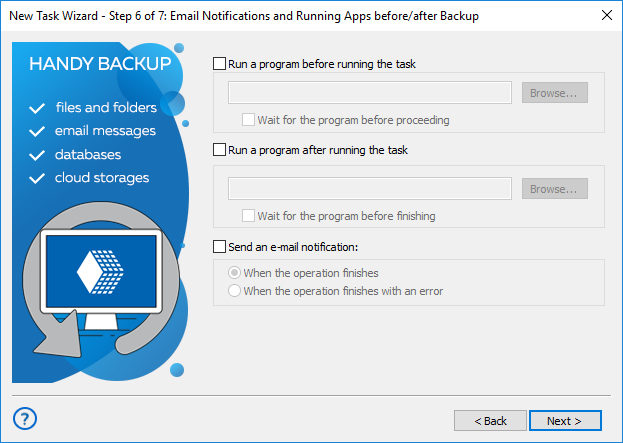
- On this step, you can also set up an email notification about running a task and about its results. Enable an option to do it, select when to send a notification – Handy Backup will notify you about its activity via an email that you provide in the "Settings" section.
- Click "Next". On the final step, give a name for your task, and mark an option to run this task immediately after creating it. You can also see all parameters of your task in the middle of the setup window. Go back to change any parameters, or click "Finish" – well done!
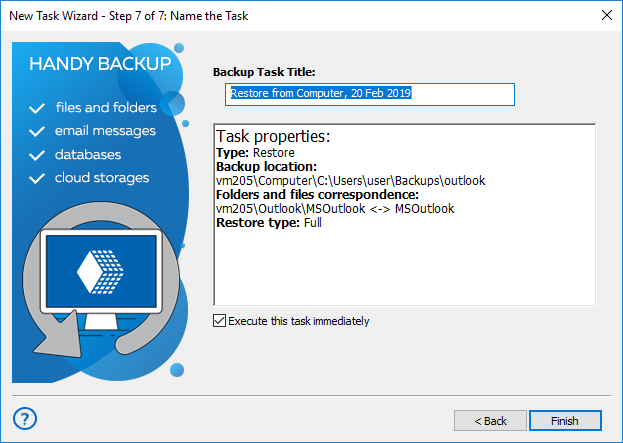
A new task will appear in the main program window. If you select immediate running for a task, you will see also the task results in the main window.
Contents: